When I was about my daughter's age feathered hair clips were very popular. I am so excited to see they are back! Unfortunately I haven't seen them in stores. I believe every little girl should have the chance to wear feathers in her hair so I made some for her.
What you need: Feathers, scissors, permanent markers, rubbing alcohol, medicine dropper, newspaper, something to dry feathers on. And for the rest you'll need a hair clip, ribbon, beads, and a glue gun.


Dying the feathers. At first I was sad the only feathers I could find were these white feathers, brown feathers, and ugly dyed feathers. Then I decided to try dying the feathers.

Trim the feathers so they are the shape you want.

Much better.
Color the feather with permanent markers. I used two different colors on different feathers with mixed results. Be sure to color close to the middle. The colors will spread down when you drop the rubbing alcohol on them.
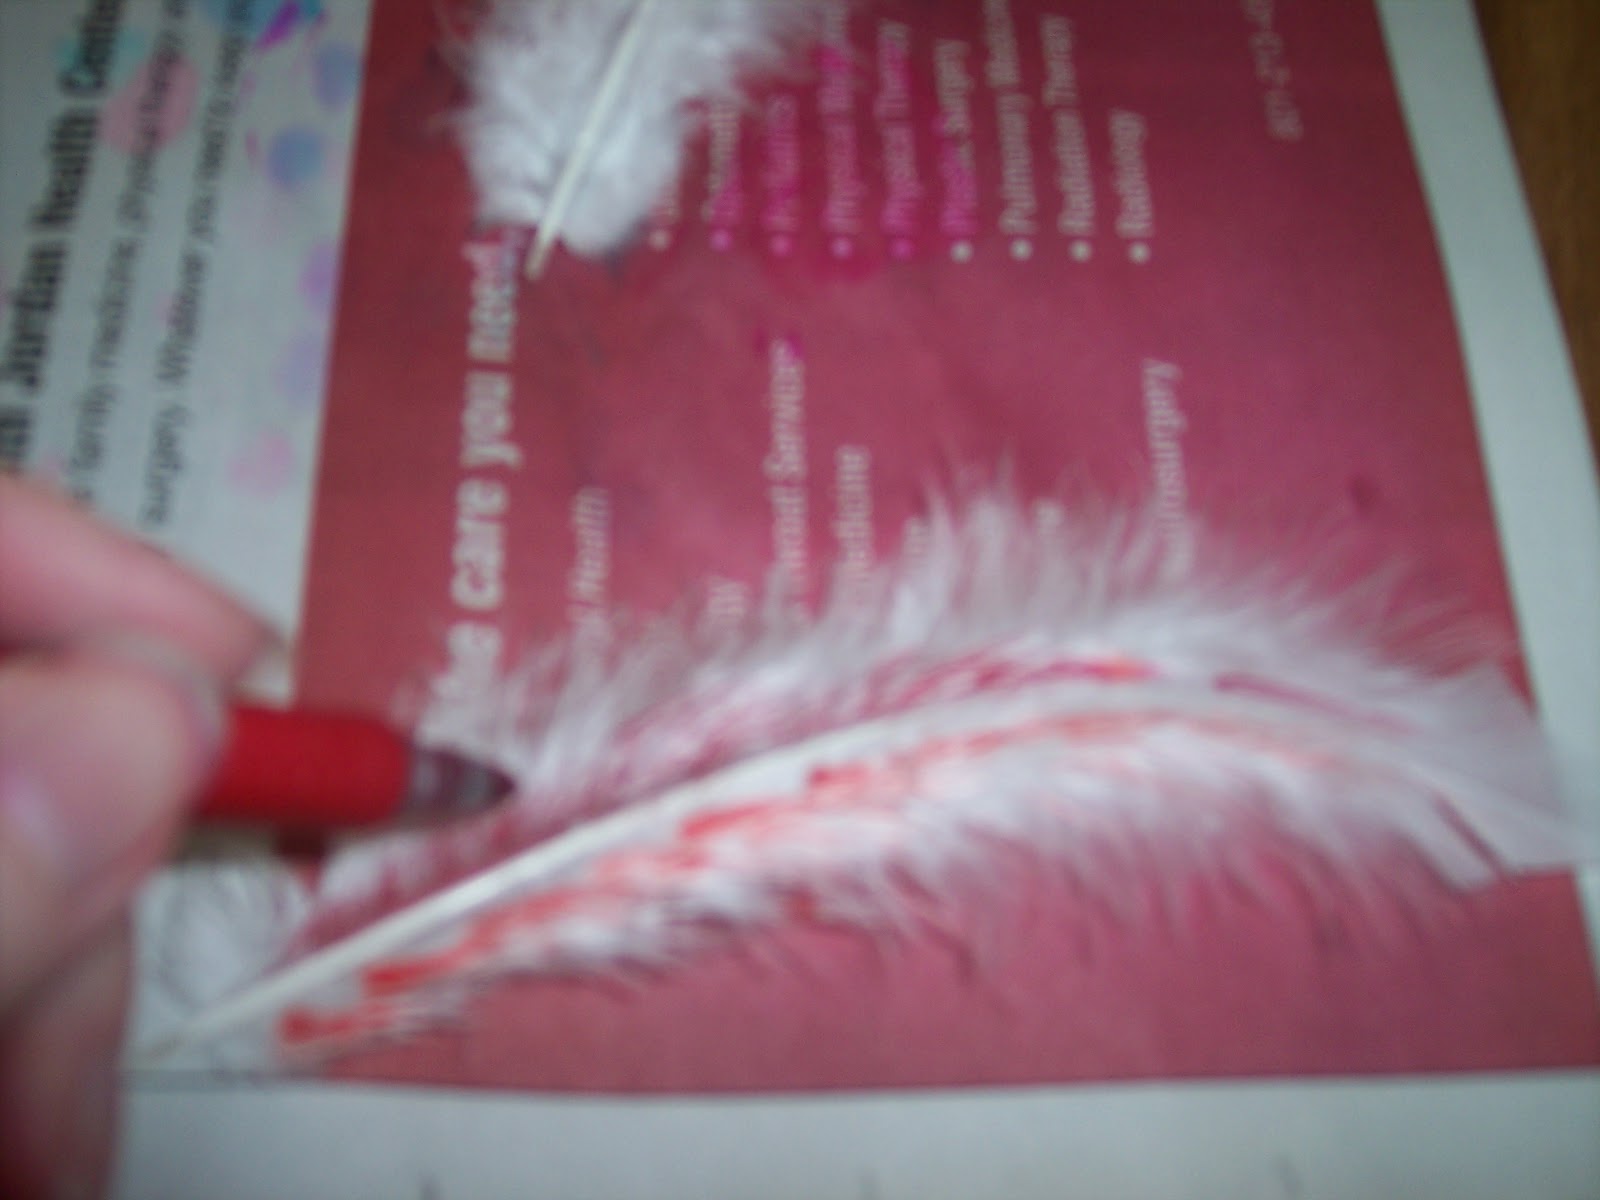
Hold your colored feather like the picture below and use medicine dropper to spread color with rubbing alcohol. This gets messy so be sure to protect your table with newspaper. It will stain.

My camera is not working really well. I apologize for the blurry pics. Once you're done with the rubbing alcohol your feathers will look like these. Don't worry. They'll perk up! Also don't get too attached to the way the colors are. It changes.
I used my son's K'Nex to dry the feathers. If you set them on the newspaper the color will bleed onto the newspaper and you will lose most of your color. The feathers in my daughter's hair above were put on newspaper. You might like the lighter color. I like how the ones below turned out.

Let the feathers dry for about an hour and then rinse them in cold water. Pat them dry with a paper towel. The picture below shows how much color will still bleed out. Not too much but I'd still try not to get them wet.

Wet feathers are ugly. I just have to say it. Spend some time fluffing the feathers. Eventually they will look like this.

All three feathers together. Like I said, they don't look anything like how they started. The green one was supposed to be green and blue. They're still a little damp in this picture.

Now for the hair clips. Gather your supplies.

Glue the end of the ribbon to the end of the clip and weave it around the holes.


The picture above is wrong. The blue ribbon should have been on top. Weaving is like braiding and there are a lot of ways to do it. I've made three clips and did it different each time. (But if anyone really wants me to explain it, I'll give it a go.)
Leave the ribbons dangling below. I secured the end with glue gun too.

Use the glue gun to add beads. Shove the end of the feather inside the bead while the glue is hot.


So that's it! My daughter loves the clips and I think they look darling in her hair.
Pin It
Very good idea. I have seen these in stores. In Claire's. But whew, they can get pricey. I bet the DIY kind are much more cost effective. Maybe I'll have to plan a day to make a few with my daughters.
ReplyDeleteThank you, Rachel. My daughter loves her clips. They are cost effective and you can make them to match specific outfits.
ReplyDelete