Pages

Friday, October 24, 2014

Simple Halloween Decor That Doesn't Break the Bank

I've never been big on spending for Halloween. Money is often tight at this time of year as we work to get ready for Christmas.  I buy a few Halloween decorations, but most of them are re-purposed or handmade.


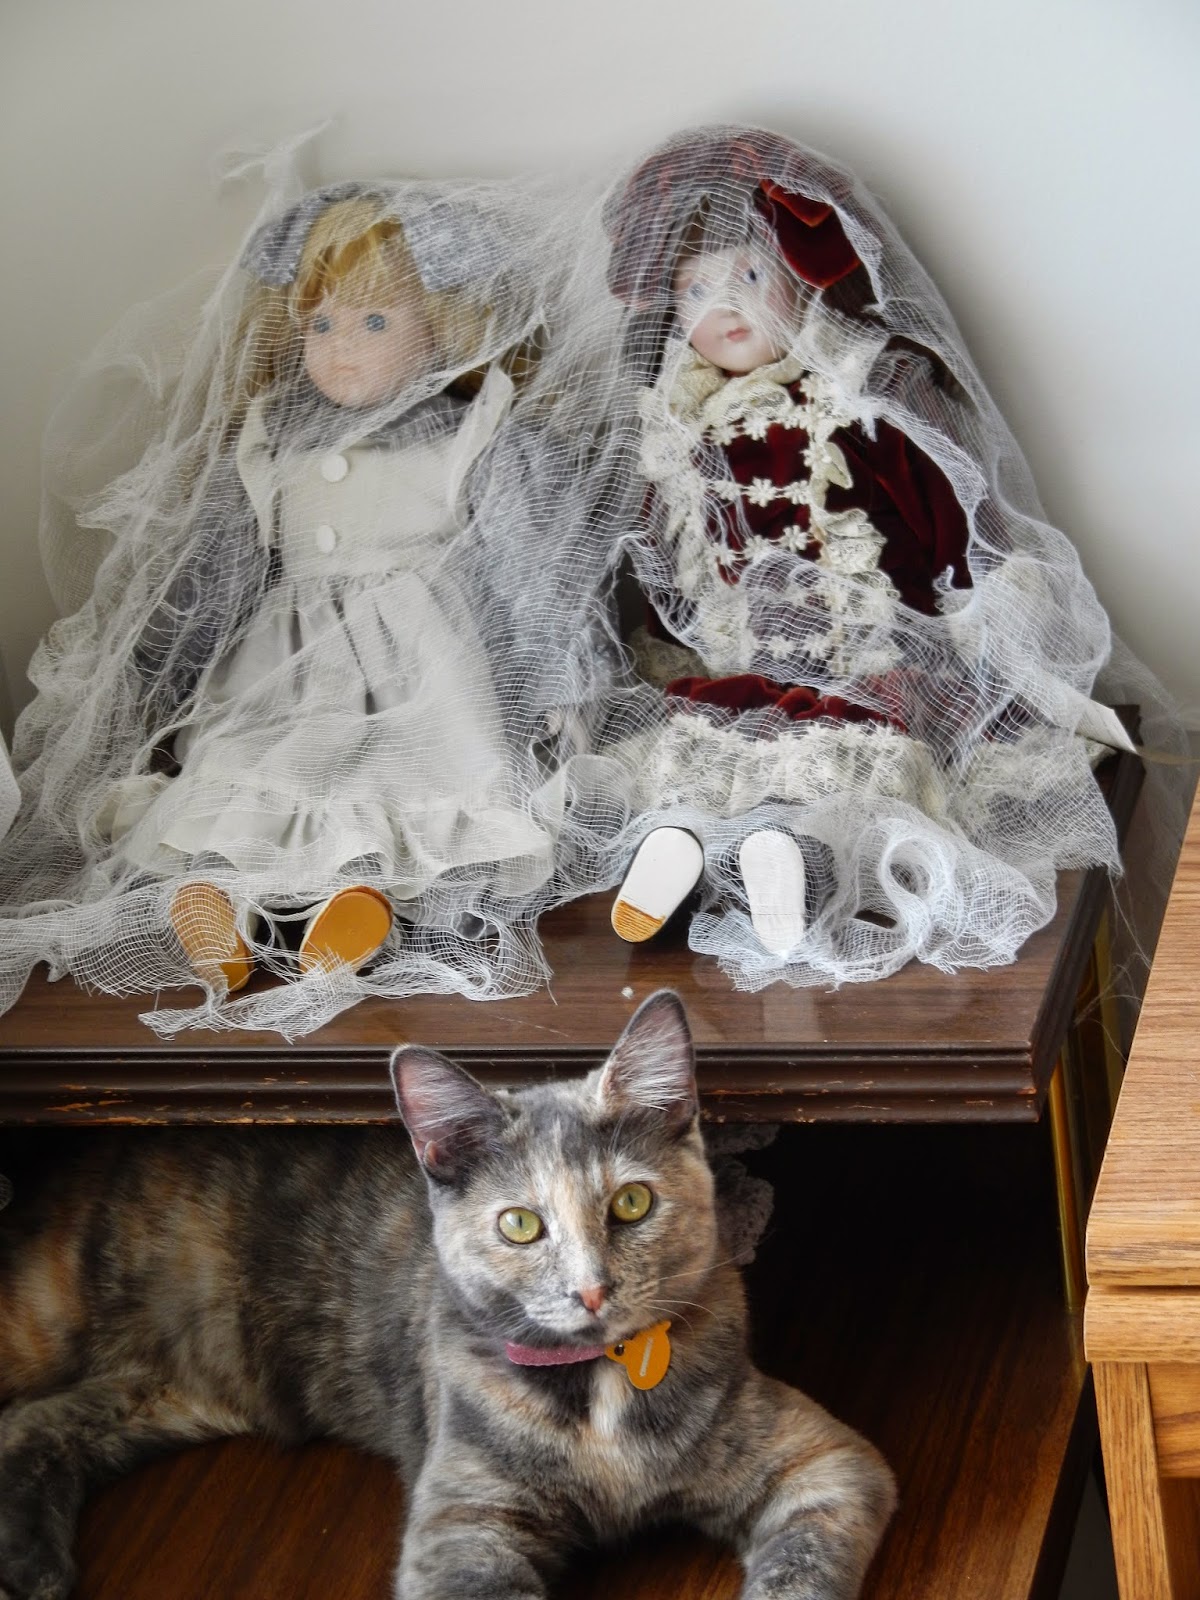
Cinderella is not part of the decor.  She just thinks she is.  

My daughter found these dolls at a second hand store a few years ago.  She thought they were beautiful and spent her own money to buy them.  Then it got dark and she decided they wanted to kill her in her sleep.  They spent some time locked away in a bin with books piled on top of them.  Then I rescued them to use as Halloween decorations. My daughter thanks me every day for covering them up with distressed cheese cloth and putting them on display. I'm sure she'll want them back one day.  

Distressing cheese cloth is actually pretty fun. All you have to do is cut and pull.  It has a naturally creepy vibe, like the dolls.


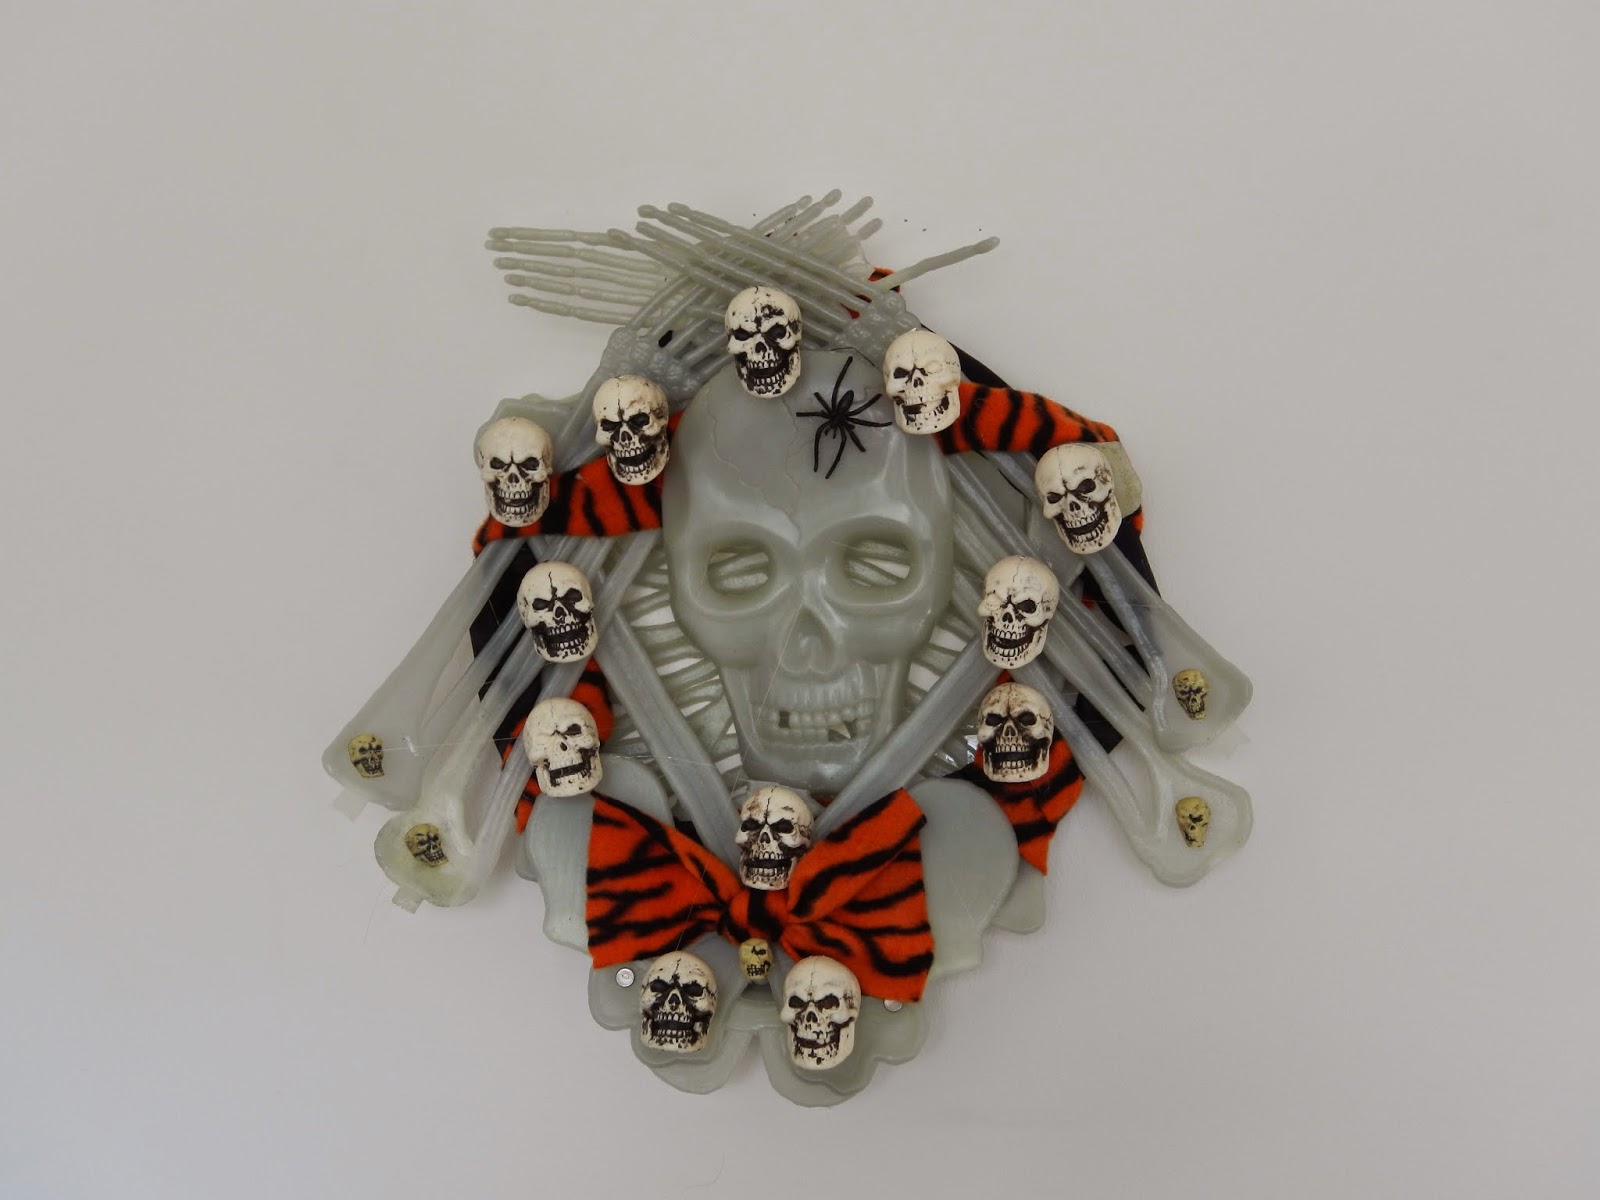
I made this wreath out of an old glow-in-the-dark skeleton I had.  Its legs were broken and it was missing several toes.  I used black tubes from an old spider costume as the base.  The ribs helped to make it more sturdy. Then, with my trusty glue gun, I attached the other bones and added the little skulls and bow tie. I didn't do a more detailed tutorial because I put it together with random pieces. It might be good for kick starting new ideas, though.

The monster is a big doll with a monster mask.  Isn't she cute? I had to move it because the kittens didn't approve of the location. (It's all about them, you know.)


Cinderella insists on being in the pictures, but won't look at the camera. The skulls can be found in various stores for about a dollar.


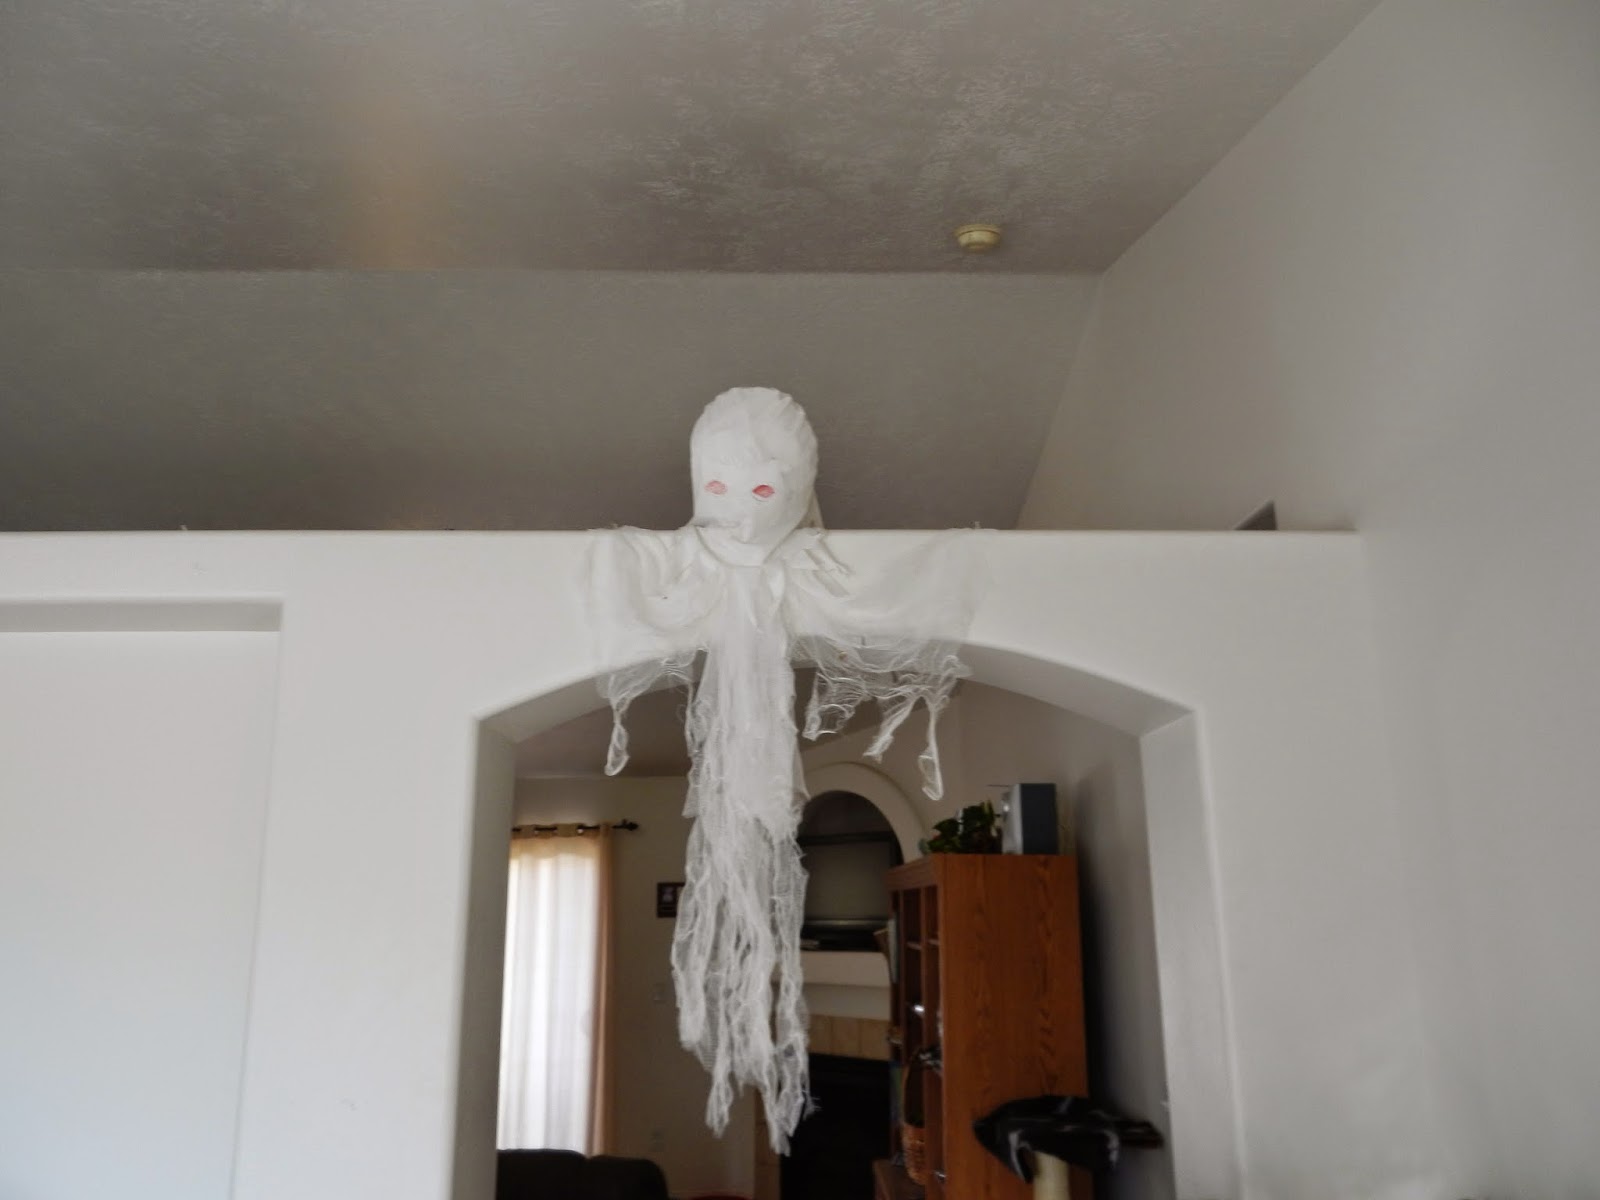
This ghost started out as a ghost costume.  Unfortunately, the mask looks like Klan mask and I couldn't ever wear it. (It only looks that way on people.  Weird, I know) The body of the costume is really long and with kittens around I decided it was best to keep it packed this year.  I made a new body by tying three pieces of cheese cloth together and distressing them.  The mask is stuffed with a paper mache head that glows under our black light.  It's a pretty eerie way to greet our trick-or-treaters.


Plastic pumpkins pick up light from the window behind it.


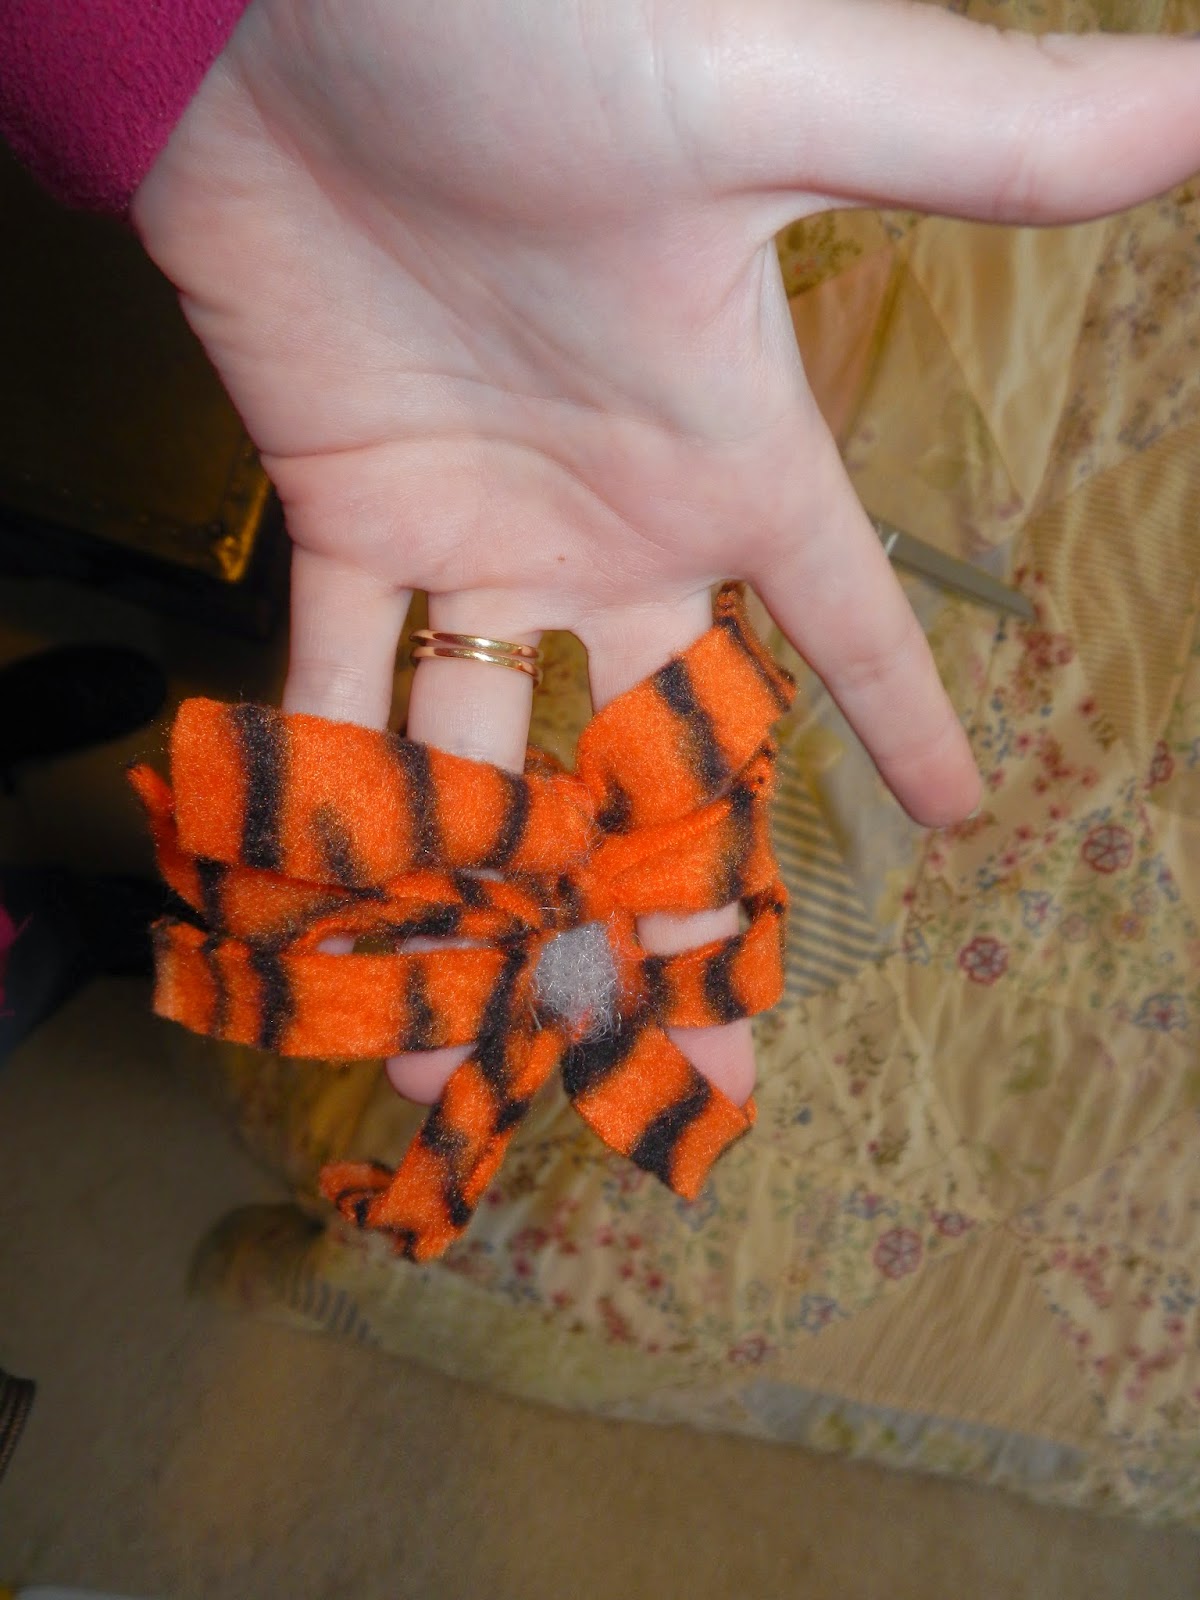
Fuzzy pipe cleaner spiders. Take 4 pipe cleaners, twist them in the middle and glue a body over the twisted part.  You can do a head too.  I didn't because they aren't seen from close up and I was going for simple.  They look pretty creepy from a distance with all those spindly legs.


Our ghost masks are still a favorite.  This is their third year and they are still going strong, despite the crazy weather. Go here for a full tutorial.

Have a safe, happy Halloween!

Monday, October 13, 2014

Last minute Cell structures and story links

My 14 YO informed me this afternoon that she has to make a "cell" complete with the membrane, ribosomes, golgi apparatus, smooth ER, Rough ER and lots of other parts that I don't care to remember. "Fantastic," I said not feeling happy. I had a root canal only 2 hours before. "When is it due?"  Silence. Then a little whisper, "Tomorrow."
Dear dear 14 YO. WHAT ARE YOU TRYING TO DO TO ME? SEND ME TO THE ER?
Expired cake mix + scrounged up candy + cake sprinkles + my lone avocado=Eukaryotic Animal Cell. Sigh. Time for more IBU.
I have to wonder sometimes...I learned all about this stuff in the 9th grade too. And have never once used it. I learned all about (well, was supposed to learn about) sentence structure and how to diagram them and the only time I've needed it was when my a fore mentioned 14 YO asked how to diagram a sentence for her homework.

Sigh. It's done and my poor avocado will not be delicious on a turkey sandwich anymore. Such is the life, we give up so much for our kids. I hope the appreciate it. ;-) 

On a happier note: Here's a little blurb on my story, Snow Angels
Night all!

Wednesday, October 8, 2014

Easy sew cat toy

My daughter has been wanting to learn to sew.  She sewed a little bag in school and a few other things here and there, but she wanted to do more.  So I came up with a design for a cat toy. 


I made the big one first.  They like to wrap their paws around it and attack with their teeth and claws. They also like to snuggle with it. The fluffy pillow protects our fingers while we play with them, so it's a win all around. My daughter made a big one and then she also made a tiny one. The kitten approves.


Cinderella likes it so much she carries it around with her.  She also loses them so we have to make more. Here's a video of her carrying it (with a bonus view of one of my son's socks!)


You can use any size or shape of fleece to make this project.  I used a long piece.


Then I folded it in half

Most kittens come running when they hear the can opener.  Mine comes when she hears the sewing machine.


Is this for me???? I love these!

Sew half way up each side. Cinderella wouldn't leave it alone long enough for me to take pictures.

This next shot was supposed to have had the toy in it, but Cinderella snatched it before I could take the picture. Imagine a tiger striped piece of fleece that is sewn on both sides and has a fringe cut on the edge. In the future, I will check pictures after each step.

And there is the little thief herself.

I grabbed another toy for her to play with and got my project back.  Below you can see the promised fringe. I turned it right side out and stuffed it. (I put a little catnip in this one, but Cinderella doesn't care if I don't.)

The next step is to tie it straight across to close it.


At long last (about ten minutes) she has her completed toy. I love her funky little tail!


Hobbes is excited too.

You can see it in his eyes.

I've seen similar toys in the store, but they usually have feathers or are noisy. My kittens don't like toys that rattle and they rip feathers out in seconds of getting them.  These are quiet, durable, inexpensive, and machine washable.